No need to 'safely remove hardware' on Windows 10 anymore
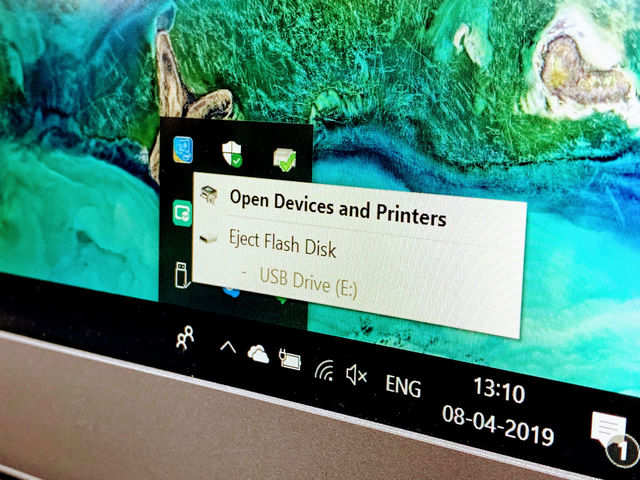
If you’ve ever plugged a USB flash drive into Windows before and unplugged it, you might have gotten the warning message that you should probably use the “Safely remove” feature to eject your hard drive. This is due to concerns that removing it suddenly could somehow corrupt the data or cause errors as the drive could still be in use.
It made sense, although it was also a bit annoying at times. However, it seems that Microsoft will no longer require users to “safely remove” USB flash drives in Windows 10. This is according to a support document on Microsoft’s website in which Microsoft details how to take advantage of the feature known as “Quick removal”.
According to Microsoft, “This policy manages storage operations in a manner that keeps the device ready to remove at any time. You can remove the device without using the Safely Remove Hardware process. However, to do this, Windows cannot cache disk write operations. This may degrade system performance.”
Microsoft notes that all USB drives attached to the computer in Windows 10 will be set as “Quick removal” by default, but users can go to their drive’s Properties and change it to “Better performance” if they prefer the older method.
How exactly does the ‘Quick Removal’ policy work?
As explained by Microsoft, the policy, in short doesn’t keep the disk cache unlike what happens when you use the ‘Safely Remove Hardware’ option (Better Performance policy). “This policy manages storage operations in a manner that keeps the device ready to remove at any time. You can remove the device without using the Safely Remove Hardware process. However, to do this, Windows cannot cache disk write operations. This may degrade system performance,” states the support page.
How to change the policy for an external drive?
Microsoft has made it pretty easy to change the policy for each device. Here’s how you do it.
-When the device is connected, click on the ‘Start’ option on the desktop followed by ‘File Explorer’.
-Identify the external storage and right click on the main ‘Start’ menu at the bottom left corner.
-Select ‘Disk Management’ option.
-In the lower section of Disk Management, right click on the label of the device followed by ‘Properties’.
-Select ‘Policies’ and chose ‘Better performance’ or ‘Quick removal’.
But before you start pulling out flash drive left and right, ensure that the data isn’t being transferred and Windows is updated to version 1809. You can also use the steps mentioned above to ensure “Quick Removal” is set to default.